
If you’ve been wondering how to use Google Flow, you’re in the right place. It’s a powerful AI video generator included with a Google AI subscription, and it can create both images and videos. The first time you open it, the interface can feel overwhelming — but in reality, there are only a handful of core concepts you need to understand before you can use most of what it offers.
Table of Contents
This guide walks through how to use Google Flow AI step by step, from your very first image all the way to stitching full scenes together. And if you’re wondering how to use Google Flow free, the good news is that image generation often costs zero credits, so you can start experimenting without spending anything.
You can access Google Flow directly at labs.google/flow.
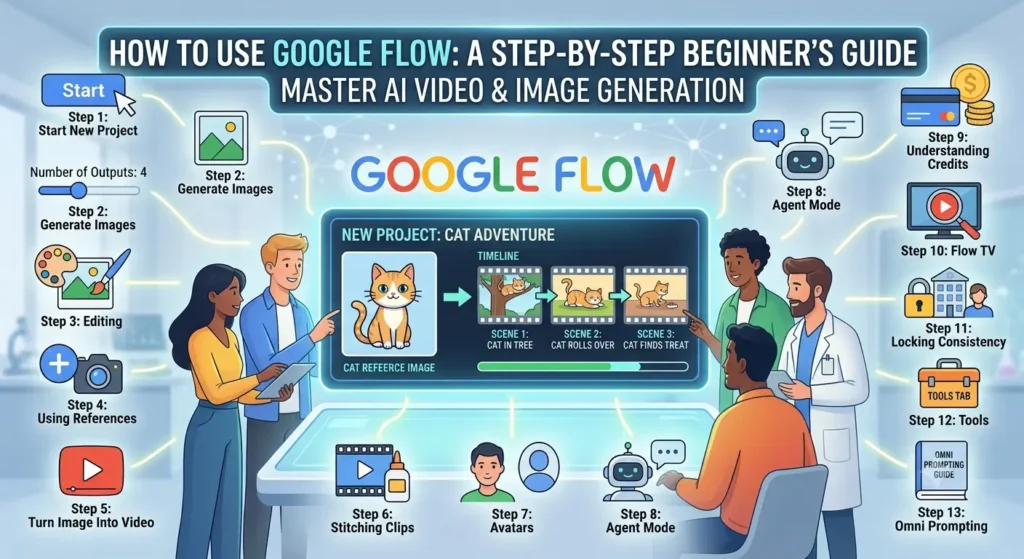
Step 1: Start a New Project
Everything in Flow is organized into projects. Click New Project to begin. At the bottom of the screen is the prompt box — this is where you tell Flow what you want it to create.
Above the prompt box is a menu where you choose whether Flow generates an image or a video. Start with an image, since it’s the cheaper and more flexible option (more on that later).
Step 2: Generate Your First Image
When creating an image, you can configure a few settings before generating:
- Aspect ratio — choose whatever fits your project (9:16, 16:9, etc.)
- Number of outputs — unlike the standard Gemini app, Flow lets you generate multiple variations at once (e.g., four images in one go)
- Generation model — currently you can choose between Nano Banana Pro, Nano Banana 2, and Imagen 4
Flow will show you how many credits a generation will cost before you commit — sometimes it’s free. This is actually one of the easiest ways to use Google Flow free, since many image generations don’t cost you anything at all. Once you’re ready, type a simple description (even something as basic as “a cat”) and click the arrow to generate.
Step 3: Editing an Image
Once you have an image you like but isn’t quite perfect, click into it and describe the change you want directly — for example, “change the blue blanket to orange.” Flow will generate an edited version while keeping the original available for comparison. You can toggle back and forth between versions and pick whichever one you prefer before clicking Done.
It’s important to understand the distinction here:
- Editing an image (clicking into it and describing a change) creates variations of the same image — you’ll only ever see one final version at a time, not multiple versions stacked together.
- Creating a new image (using the prompt box) generates a brand new image.
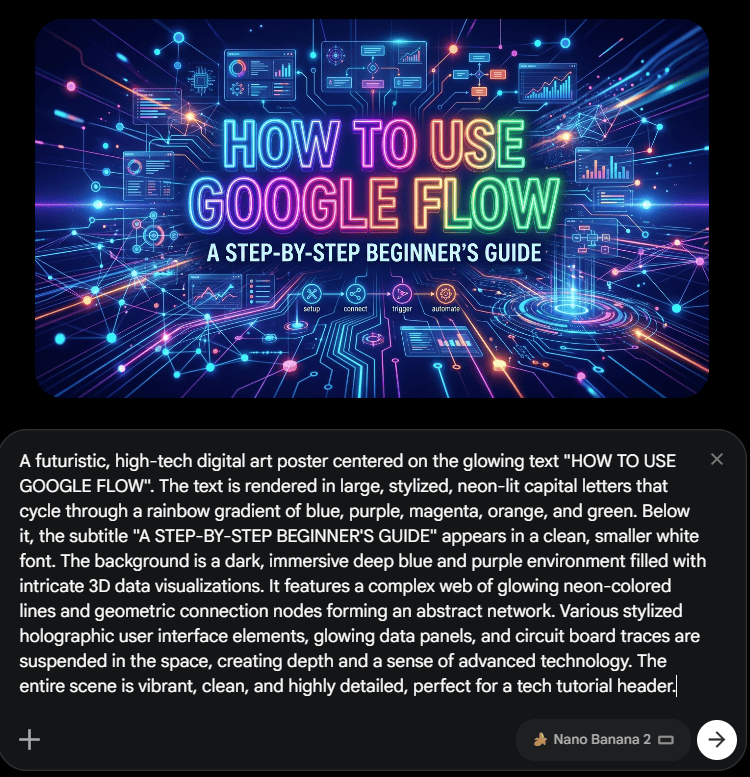
Step 4: Using a Prior Image as a Reference
To create a new image featuring the same subject in a different setting (keeping visual consistency), click the plus icon in the prompt box, select an existing image from your project’s media, and click Add to Prompt. Flow will use that image as a reference. Then describe what you want changed — for example, “create an image of this same cat in a tree.” This keeps the character or subject consistent across new generations.
At this point, you can also clean up unwanted images: click the three-dot menu on any image and select Move to Trash.
Step 5: Turning an Image Into a Video With the Google Flow AI Video Generator
Once you’re happy with an image, you can bring it to life as a video using Flow’s built-in video generation tools. Click the plus icon, select the image, and add it to the prompt. Then switch the mode from image to video.
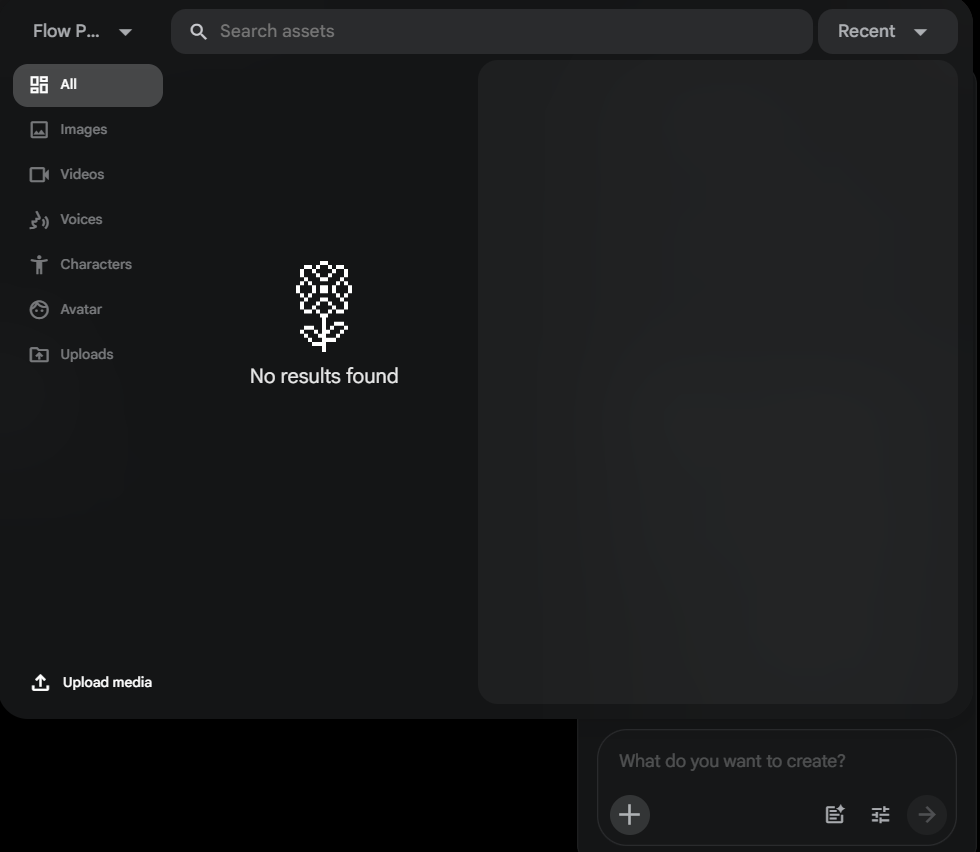
You’ll see two options: frames or ingredients. Ingredients are essentially your inputs — the text you write plus any images or references you attach.
Key settings for video generation:
- Aspect ratio — match it to your reference image
- Number of outputs — stick to one for video, since it uses significantly more credits than images
- Generation model — Omni is currently the strongest option
- Length — longer videos cost more credits
Describe the action you want (for example, “the cat rolls over on his back”) and generate. Video generation typically takes about a minute.
Step 6: Stitching Clips Into a Scene
Flow lets you combine multiple video clips into a longer sequence. To do this, generate a second clip — it doesn’t need a reference image at all; a plain text description works fine (for example, “a woman walks around her house looking for a cat”).
Once you have both clips, click Add Clip to bring them into a shared timeline, then Add to Scene. This creates a combined video from your separate clips.
If the transition or content between clips doesn’t quite match (for example, mismatched details between two generations), you can trim each clip by dragging its edges to adjust exactly where it starts or ends, refining the flow between shots until the sequence feels right.
Once you’re satisfied, click Done. Your finished scene will appear under the Scenes tab in the sidebar, and all your individual assets — images, videos, and scenes — are also accessible under All Media.
Downloading Your Work
- For individual images or videos: click the three-dot menu, hover over Download, and choose your resolution.
- For scenes: open the scene first, then use the download button from within it to export the combined video.
Recommended Workflow
Always start with images, turn the ones you like into videos, and then combine those videos into scenes. This order matters because image generation is cheaper than video generation — get the look exactly right at the image stage before spending credits on video.
Step 7: Avatars
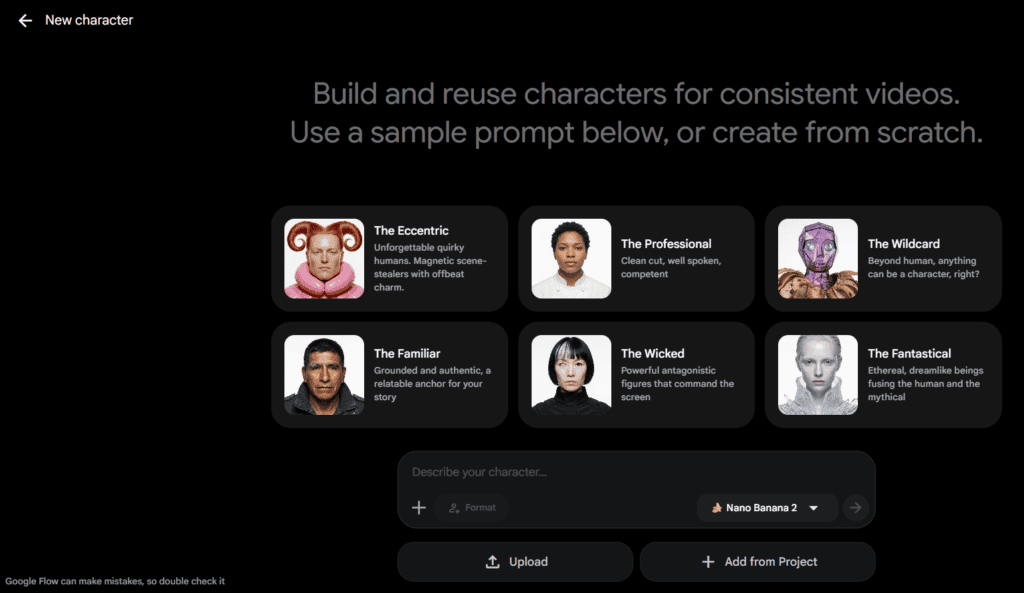
Flow also supports creating a personal avatar. Click the plus icon in the prompt box, select Avatar, and the first time you do this you’ll get a QR code to scan with your phone, which opens a page to scan your face and build your avatar.
Once created, you can insert your avatar into any scene — for images or videos — just by adding it to the prompt along with a description of what you want it doing.
Step 8: Agent Mode
If you’re still figuring out how to use Google Flow AI without writing detailed prompts yourself, Agent mode is the answer. For a more guided experience, click Agent in the prompt box. This opens a conversation with an AI agent that helps you plan and create your images or videos through back-and-forth dialogue rather than manual prompt-writing. You describe your general goal (for example, “a short animated film for my niece, something cute and fun”), and the agent proposes ideas, refines them with your input, and then generates the images and videos for you automatically.
Step 9: Understanding Credits
Flow runs on a credit system, and every generation costs a certain number of credits — always check the cost shown before generating. You can see your remaining balance by clicking on your plan name in the top right, which also shows your credit history.
Credit allowances depend on your Google AI plan:
Allocation Tiers
- Free Tier: Receive 50 free credits daily (for Veo 3.1 Lite/Fast).
- Google AI Plus: 200 credits per month.
- Google AI Pro: 1,000 credits per month.
- Google AI Ultra ($100): 10,000 credits per month.
- Google AI Ultra ($200): 25,000 credits per month. [1]
Credit Costs Per Generation
- Veo 3.1 – Lite: 10 credits (5 for Ultra users).
- Veo 3.1 – Fast: 20 credits (10 for Ultra users).
- Veo 3.1 – Quality: 100 credits for all users.
- Gemini Omni Flash (Video edits): 40 credits per edit.
Keep an eye on your usage so you don’t burn through your monthly allowance before it resets. If you’re specifically trying to use Google Flow free as much as possible, lean on image generation (which is often credit-free) and save your video credits for the clips you’re most confident about.
Step 10: Flow TV — A Shortcut for Finding Prompts
Flow has a section on the homepage called Flow TV, which is easy to miss but genuinely useful. It’s a library of AI-generated videos made by other creators inside Flow, organized into channels and short films. Every clip comes with the exact prompt that produced it, listed right underneath.
If you’re after a specific aesthetic — say, “luxury” — you can search that term inside Flow TV, find a clip in the style you want, and copy its exact prompt as your own starting point. There’s also a shuffle all option that plays a continuous stream of clips across every category, which is a fast way to get a feel for what the model can do before spending any of your own credits.
Step 11: Locking Characters and Locations for Consistency
When building a multi-shot project — especially through Agent mode — consistency between shots matters a lot. If a character or setting looks even slightly different from one shot to the next, the finished video looks disjointed.
The rule worth remembering: lock the character first, lock the location second, and only generate the full set of shots after both are locked. In practice, this means generating and approving a character reference image, then a location reference image, before asking the agent (or manually prompting) for the shots that use both. Skipping this order and generating everything at once often produces shots that look like they came from different films.
Once both are locked, the agent (or you, manually) can generate a full storyboard grid showing all shots side by side with the same character and setting held consistent throughout — and from there, generate each shot as an actual video clip.
Step 12: The Tools Tab
Beyond the prompt box and agent, Flow includes a Tools tab in the left sidebar — a gallery of pre-built, specialized workflows for solving specific creative problems. Notable ones include:
- Simple Sketch — turns a rough drawing into a stylized image
- Scene Explorer — generates a single location from multiple cinematic camera angles at once (wide shot, low angle, high angle, etc.)
- Shot Explorer — tests different camera framings on the same subject
- Mask Magic — replaces specific elements inside a generated image
The most powerful part of this section, though, is that you can build your own custom tools from scratch and save them under My Tools, which sits at the top of the Tools page. This turns Flow from a one-off video generator into more of a repeatable workflow platform — if you have a specific style or task you apply often (style transfer, product mockups, social templates, thumbnail variations), you build the tool once with a saved prompt template, and every future project benefits from it with a single click.
One example of a custom tool: a style switcher, which takes an image from your media library, lets you pick a target style (oil painting, Studio Ghibli, etc.) from a side panel, and generates a side-by-side comparison — complete with a slider to compare the original and stylized versions in real time.
Step 13: Getting Better Results With Omni — The Prompting Guide
Google has published an official prompting guide for the Omni model that powers Flow’s video generation. It breaks effective prompting down into five core building blocks:
- Shot framing and motion — specify wide, medium, or close-up framing, and whether the camera should glide gently or move quickly.
- Style — decide if the result should feel realistic, cinematic, grounded, or majestic. The guide’s advice: don’t overengineer this — just name the effect you want and let the model work out the details.
- Lighting — describe where the light is coming from (sun, street lamp, off-screen) and what feeling it should create (crisp, warm, ethereal). A single line of lighting language does more for the final result than almost anything else you can write.
- Location — you don’t need to describe every detail of a setting. A simple description is often enough, since the model fills in the rest based on what it already knows about that kind of environment.
- Action — what the subjects are doing, who the characters are, and how they move and interact in the frame.
For making changes, you don’t need to reprompt the entire scene — edits can be made through natural conversation. For example, changing one element (a butterfly into a bee, or a camera angle to be over someone’s shoulder) can be done with a single follow-up instruction, and the model applies it while keeping everything else the same.
Omni also draws on real-world knowledge: broad instructions like “explain the difference between regular and quantum computing” combined with a requested visual style (e.g., a flat infographic look) can produce a full animated sequence, since the model already understands the underlying concept.
Other capabilities worth knowing about:
- Text rendering — specify the type of text, its placement, animation style, and timing, and Omni will sync it precisely with the visuals.
- Complex motion effects — you can ask for an effect (like animated fire and smoke trailing a moving subject) applied across an entire clip with one instruction, without describing it frame by frame.
- Camera direction language — terms like push-in, dolly zoom, locked-off, and static, plus camera types like film camera, natural smartphone zoom, or webcam style.
- Referencing anything — combining images, video, text, and audio together as multiple inputs in one prompt, applying new styles (anime, claymation, watercolor) while keeping the original motion intact, and anchoring characters or objects to a reference image to keep them consistent across a scene.
Turning the Guide Into a Reusable Claude Skill
Since this prompting guide is a long reference document, it’s worth turning it into something you don’t have to re-read every time. One approach: paste the guide into a conversation with Claude and ask it to use that document as a reference whenever you request an “Omni-optimized prompt” going forward. You can then save this as a skill — Claude’s way of permanently storing instructions so they apply automatically in future conversations, without needing to re-upload or re-explain the guide each time. Once saved, asking for an Omni prompt in any new conversation will automatically apply the structure from the guide.
Since Omni isn’t limited to Flow — it’s also built into the standard Gemini app — a prompt generated this way can be pasted directly into Gemini’s video generation panel for a quick one-off video, without needing to open Flow at all.
Looking to build more AI skills? Here’s how to speak English with 3 AI tools.
That’s the Core of It
This covers roughly 80% of what you’ll need to know about how to use Google Flow effectively: creating and editing images, referencing prior images for consistency, generating videos, stitching clips into scenes, using avatars, letting the agent guide you, browsing Flow TV for prompt inspiration, locking characters and locations for consistent multi-shot projects, using and building tools, and prompting Omni effectively. There are more advanced features inside Flow beyond this, but this foundation is enough to get you comfortable and productive right away.
Whether you’re using it as a free image tool or as a full Google Flow AI video generator for client work, the workflow stays the same: start cheap with images, lock in consistency, then move to video once you know exactly what you want.

Nice i got to know something from this site. Nice keep it up